 CameraLens Imitation
- HostDaVinci Resolve 20+, Studio and Free
- PagesEdit, Color, Fusion, Photo, works under masks
- GPUCUDA on Windows (NVIDIA) · Metal on Mac (Apple Silicon, Intel)
- LicencePerpetual, 2 computers, Windows and Mac in any mix
- Try itFull plugin with a watermark
- Interface9 languages
Two kinds of glass on one shoot
I have edited in DaVinci Resolve since 2020, seven years now. In that time I have cut a feature, two shorts and two documentaries in it. Lens Imitation was born in the middle of that work, on the teaser for my film «Үги Кыз».
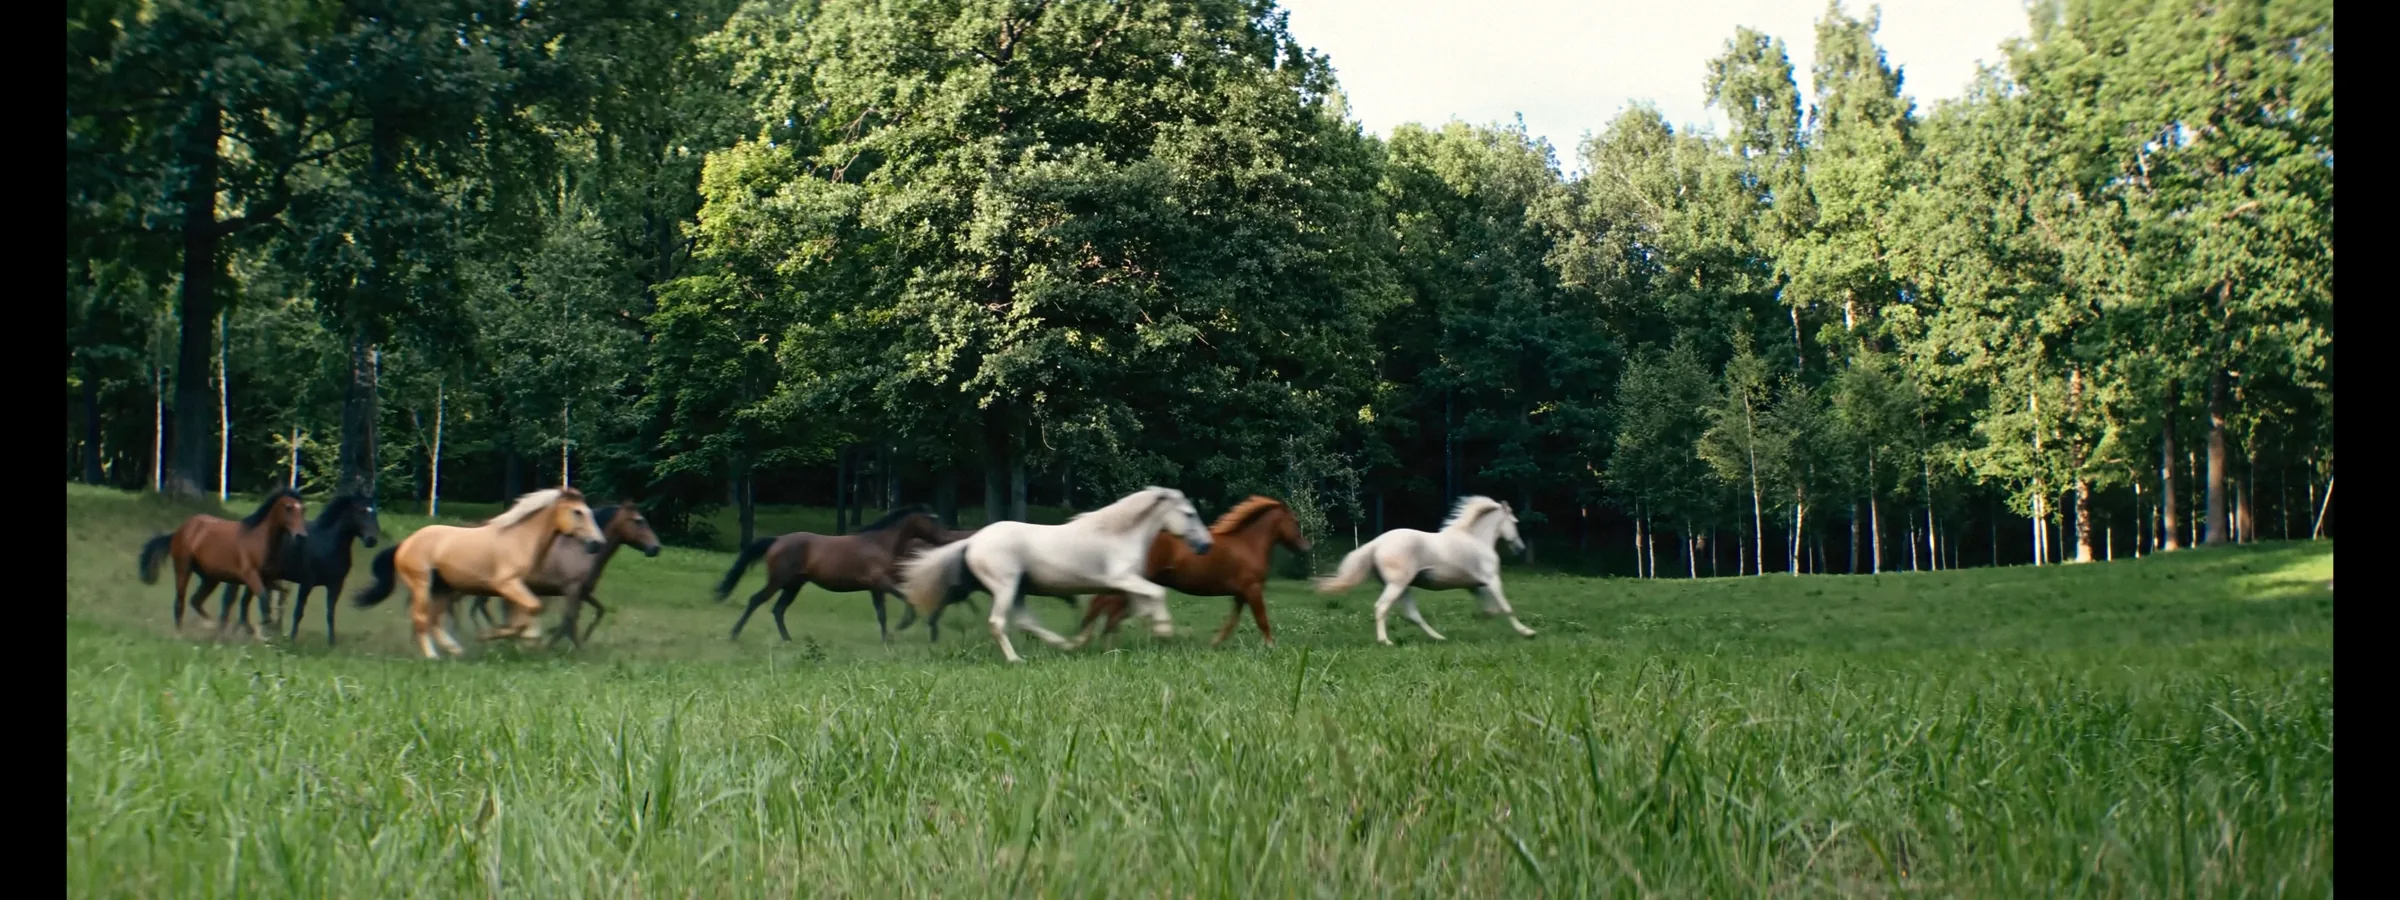
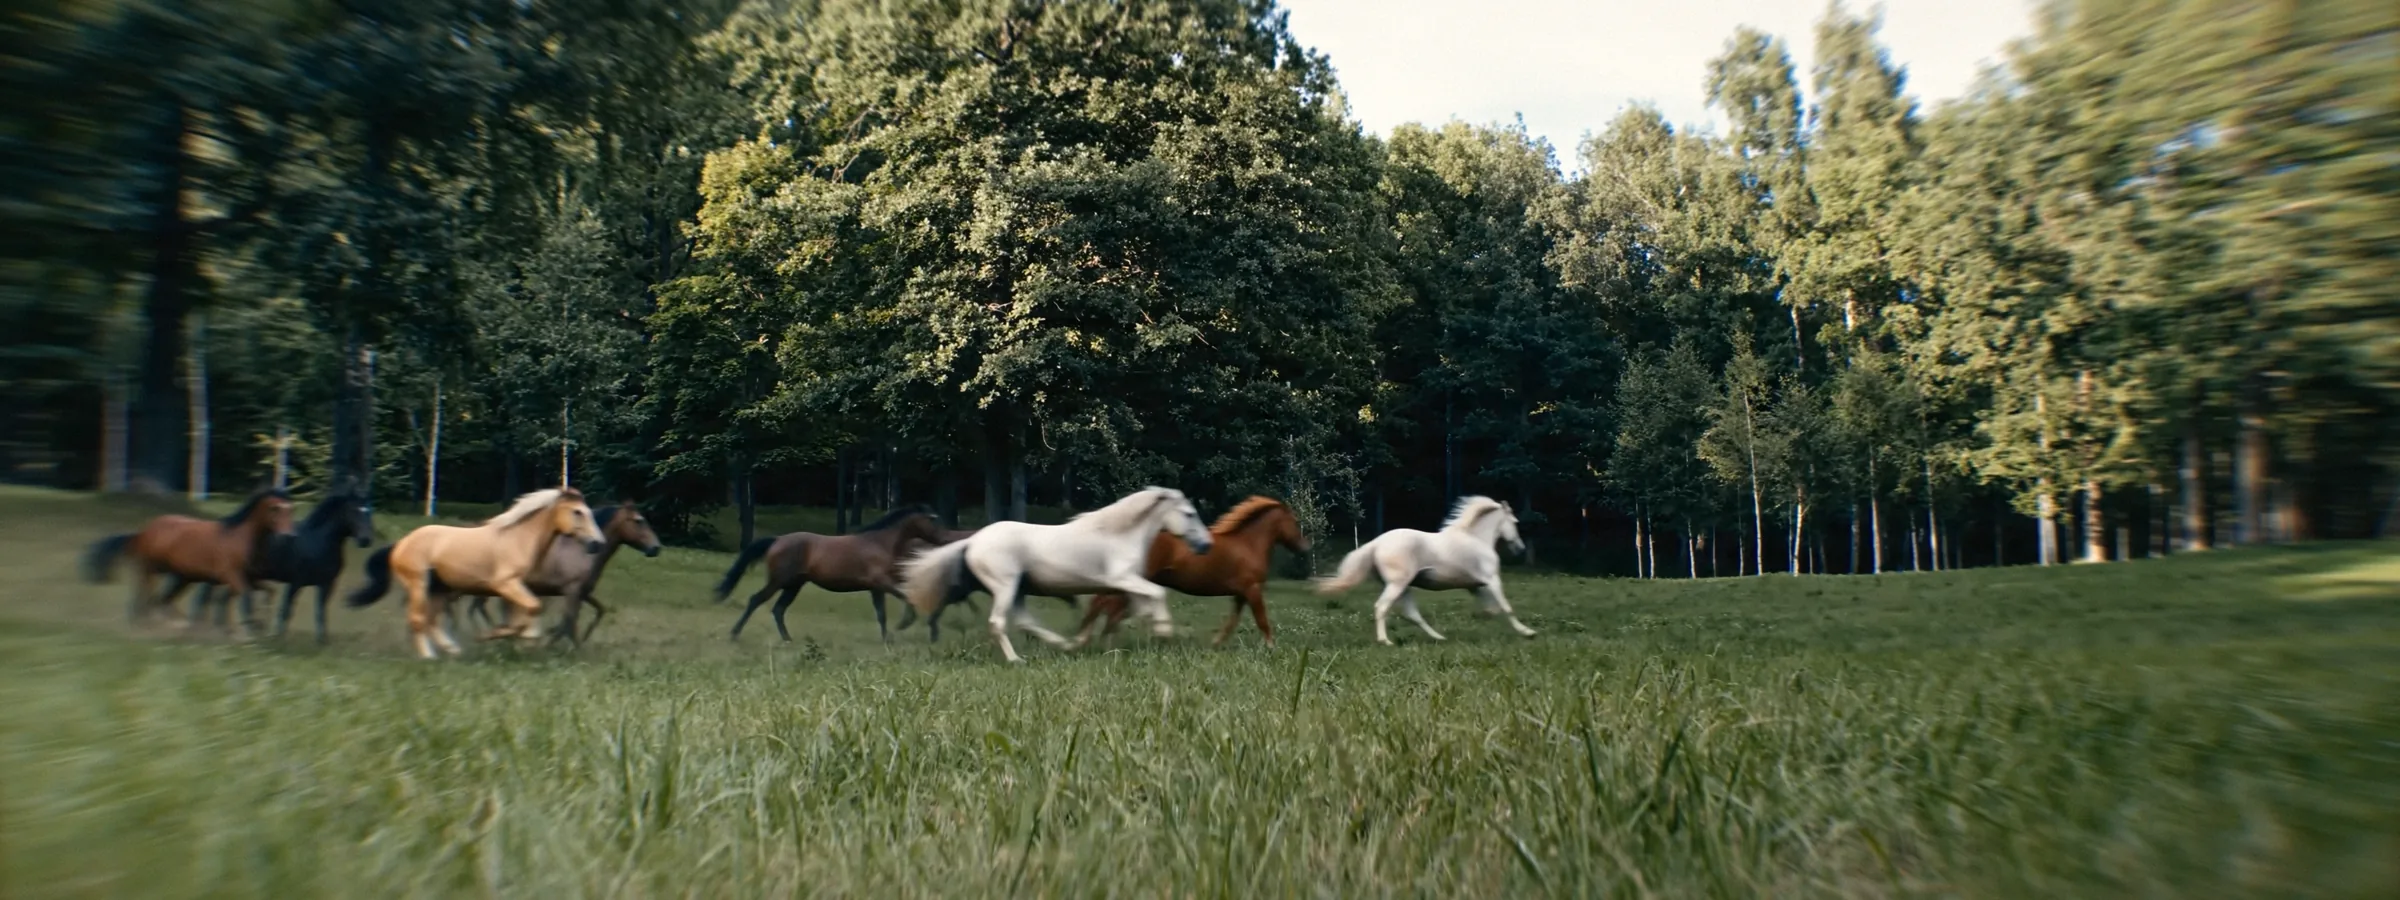
We shot with two cameras. Camera A carried a Blazar anamorphic, camera B a plain spherical wide. On set that gave us freedom. In the edit it became a problem: the anamorphic shots had oval bokeh, horizontal flares and a soft fall-off towards the edges, while the spherical shots had a clean, flat optical signature. Every cut gave it away.
I needed anamorphic lens emulation right inside DaVinci Resolve. Good enough for a spherical shot to sit next to an anamorphic one without the audience feeling the change of glass.
 SphericalAnamorphic look
Why I started writing my own plugin
First I looked for a ready-made solution. I found plugins that sell the anamorphic stretch on its own, film emulation on its own, flares on its own. Building the full chain of optics and film would have meant buying several products and stacking them node after node.
So I started writing my own OFX plugin. Step by step: the edge stretch first, then the flare, then the grain. The early builds had their share of bugs and I fixed them one by one. Today the plugin is stable, and it holds what a cinematographer and a colourist need in a single tool.
All I wanted was to cut two cameras together. I ended up with a whole optical lab on one node.
- Anamorphic opticsSqueeze from 1.33x to 2x, oval bokeh, astigmatism, aberrations.
- Anamorphic flareTracking 2.0, Soft Light mode, flicker.
- Film emulationGauges from 8 to 80 mm, three grain layers, halation.
- Film gateFrom 35mm Silent to 2.4:1 and your own format.
- Rain and snowDrops on the lens, bokeh, falling rain.
- Through GlassA sharp zone as a band, a frame or a circle.
- Fisheye and distortionBarrel, pincushion, Centre Push, Set to Zero.
- Lens FXVaseline, star, gold, broken glass.
Anamorphic lens emulation
The first task was the key one: stretch the edges and keep faces in the centre alive. That is where Edge Compress came from. Input Squeeze runs from 1.33x to 2x, the centre of the frame stays 1:1, and the picture stretches towards the edges the way a real anamorphic does.
Then came astigmatism with oval bokeh at the edges, chromatic aberration, an anamorphic vignette, coma on the highlights and the colour split of Prism. For 16:9 footage on a 2.39:1 timeline there is Fill Black Sides: it fills the frame by stretching the edges and keeping the centre.
Anamorphic flare and Tracking 2.0
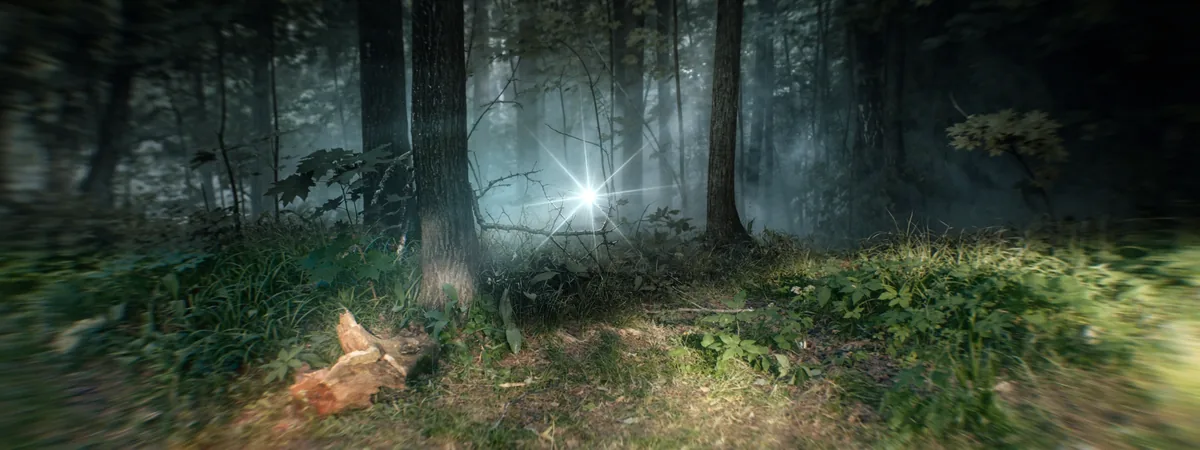
The flare turned out to be the most demanding part. A horizontal streak has to stay glued to its source, or the trick shows at once. In version 3.0 I rewrote the tracking from scratch. Tracking 2.0 runs on its own tracker, separate from the DaVinci tracker, and is noticeably faster than before. Put the crosshair on the light, press the button, and the flare is tracked from the current frame forwards and backwards to the ends of the clip. Resolve stays usable meanwhile.
If the lock drifts slightly somewhere, simple things help: raise Flare Scale, push the source itself and add Flicker. The flicker comes in bursts, as if a shadow crossed the lamp, and the flare starts to live on the reflections.
An unexpected use turned up in testing. In Soft Light mode the flare loses its ray and becomes a soft ball of light. Track it to the tip of a stick and you get a magic wand straight out of the Harry Potter films. The flare also gained saturation, five blend modes, a colour eyedropper and separate Ray Left Side and Ray Right Side controls: you can cut the ray on one side when something passes in front of the light.
Note: flare tracking works on an adjustment clip above the shot. Put Lens Imitation on an adjustment clip and track there.
Film emulation for film you never shot
After the optics I wanted film. With texture and character, not noise laid over the picture. Film Gauge offers 8, 16, 35, 65 and 70 mm, and 3.0 adds 80 mm as a beta. Each gauge has its own grain size and character, and 70 mm matches the 15-perf frame.
The grain is split into three emulsion layers. Deep Layer gives coarse grain in the shadows, Core Layer carries the midtones, Surface Layer lays a fine silver texture on the highlights. The grain is applied as density, so it sits inside the image instead of floating on top. Next to it are Halation, with a hue from deep red to orange, a highlight threshold and the colour of the light itself, and Bloom.
Then came the texture of an old print, the kind I remember from screenings. Dust. Hair in the gate. Thin vertical scratches. Scuffs on a worn print. Water and chemical stains, like on an old positive. Light leaks at the edges, projector flicker and gate weave.
The highlight of the film section: Film Gate is set right in the viewer. Its corner sets the width and height, and the picture under the gate moves, scales and rotates, so nothing important gets cut off. The gate edges soften and the corners round off, like a projector gate.
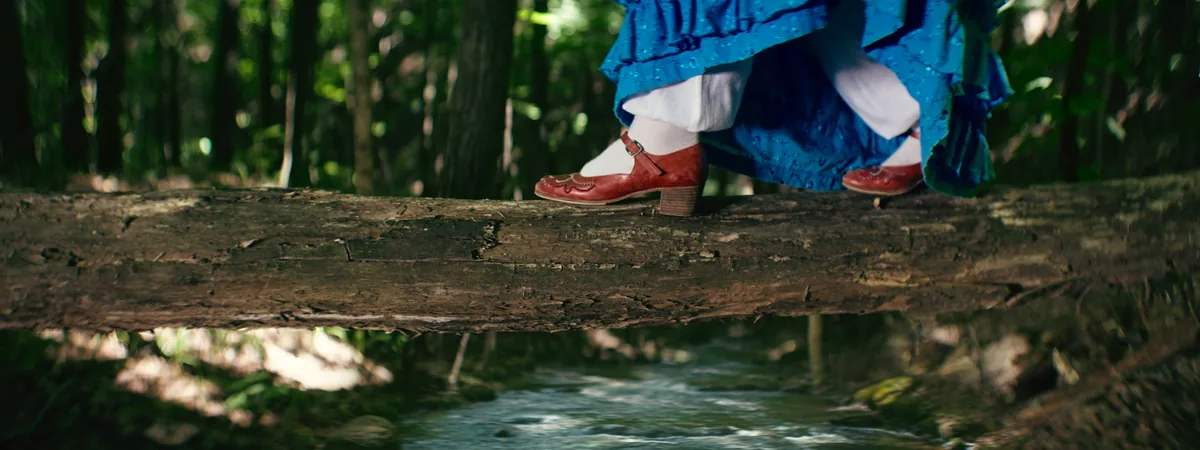
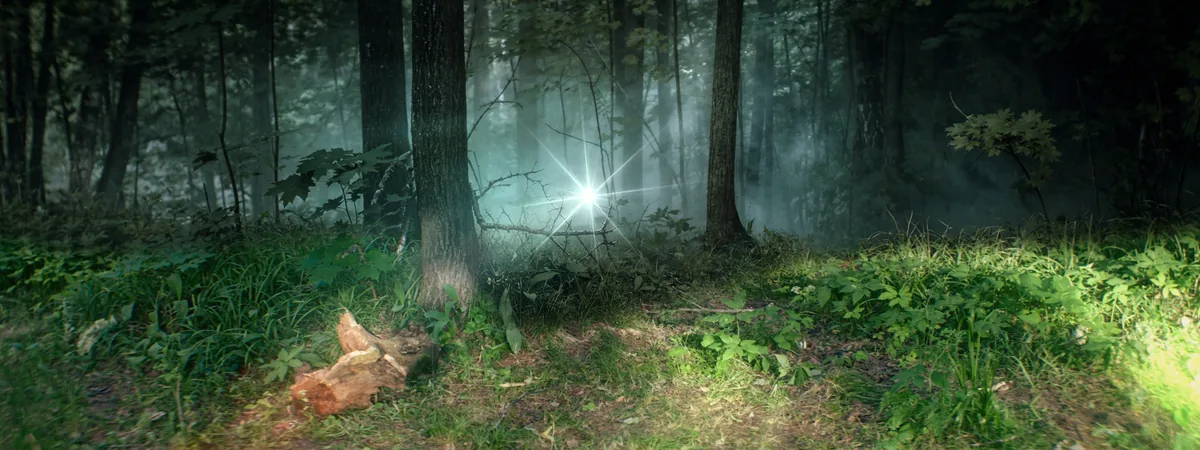
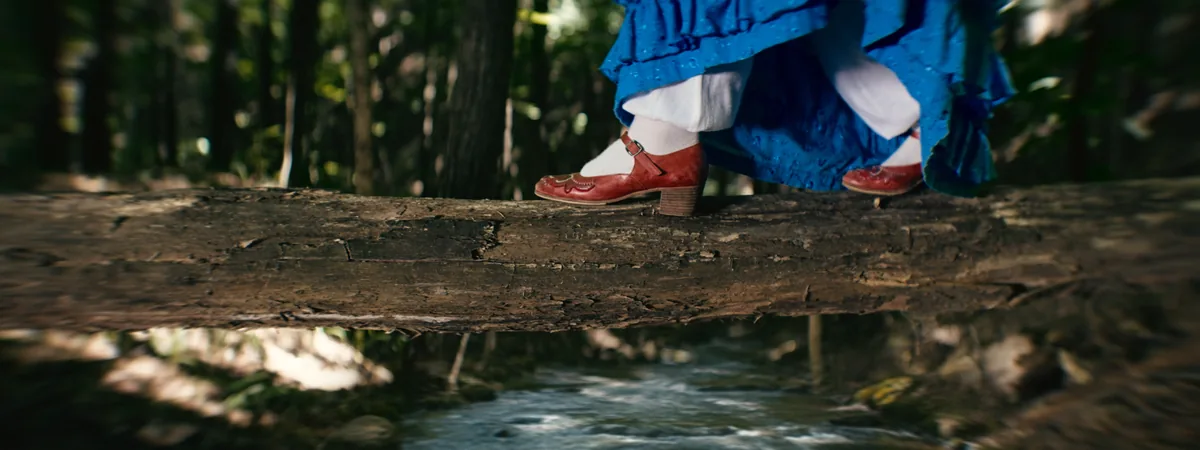 BeforeAfter
Rain on the lens without a rain rig
Rain on set is expensive and hard to control. So I thought: what if you shoot the actor simply wet and add the rain in post? That gave birth to Rain on Lens. It builds rain from several layers: lights open into soft bokeh that turns into cat's eyes towards the edges, drops land on the lens, and behind them falling rain runs through the scene with its own speed, density and wind angle. The drops at the sides settle on the glass and dry by themselves.
The same section does falling snow: soft flakes of different sizes, some of them melting on the way. Right on time for New Year and holiday videos.
Tilt-shift blur in DaVinci Resolve: Through Glass
Tilt-shift in the plugin lives in the Through Glass section, and I count it among its most refined parts. The sharp zone can be a band, like a tilt-shift lens, a frame round the centre or a circle. You move its centre, width and rotation with handles right in the viewer, and outside the zone the picture falls into an optical blur with round bokeh.
It is a tool for directing attention. It leads the viewer's eye to the detail you need, and on wide city shots it gives the miniature effect. On top you can add refraction, a rainbow edge and an uneven rim, like a piece of glass held in front of the lens by hand.
Fisheye and distortion: from a Christmas bauble to a big head
I rebuilt distortion completely. Distortion goes from pincushion to barrel, and negative values reach -200 for a very strong pull. Distortion Axis bends only the verticals or only the horizontals. A separate Centre Push sinks the centre deep into the frame or pushes it towards the viewer, and the centre point moves in the viewer. That is how you build the trending big-head effect from short videos.
Fisheye is now an effect of its own. The whole frame gathers into a ball, like a shot through a circular fisheye: the centre swells and the edges crowd towards the rim. The ball's size and position are adjustable, and round the ball the picture carries on mirrored and gently blurred. For the holidays it gives a shot that looks as if you were peering through a Christmas bauble.
Both effects have a Set to Zero button. It zeroes the distortion on the current frame, so the animation starts from a clean picture.
Vaseline without the vaseline: Lens FX
In the seventies and eighties cinematographers smeared vaseline round the edges of a filter. Light melted softly, the frame turned light and airy, and the centre stayed sharp. Vaseline Glass repeats that trick: light is dragged out from the centre in uneven strokes, like fingers across glass. No need to dirty your optics.
Around it gathered a group of glass and light filters. Rainbow Star gives star rays, from 4 to 16, in rainbow colours. Golden Glow works like a liquid gold filter: drops light up where light falls on them. Sun Catcher imitates a prism in front of the lens with rainbow flares. Swirl Bokeh swirls the blur at the edges like a Helios or a Petzval. Mirror Echo and Side Ghost lay a soft reflection of the picture over it. Broken Glass puts cracked glass in front of the lens: the impact point, rotation, scale and glints along the cracks are all adjustable.
The layers stack the way real optics do: glass and rain break up the flare, and optics and film lie on top.
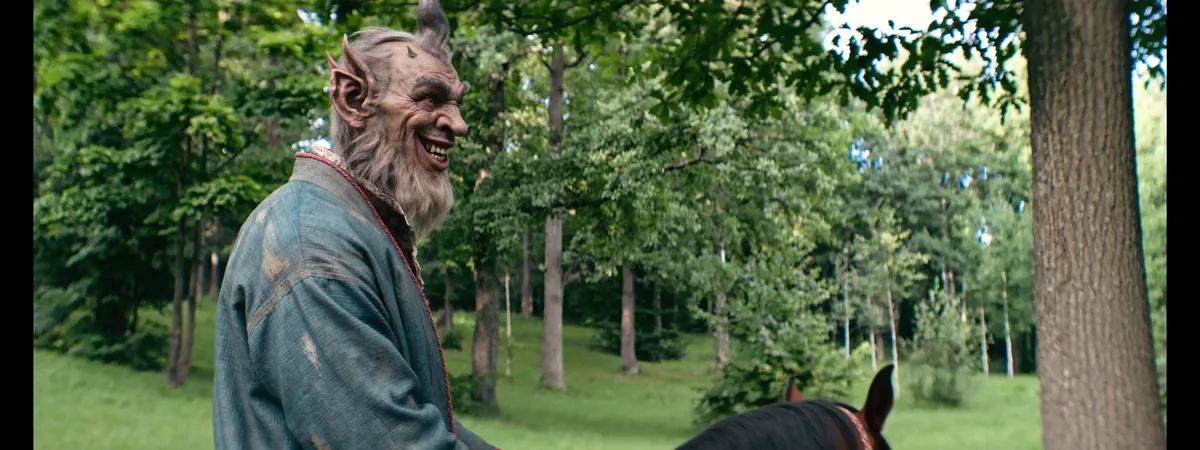
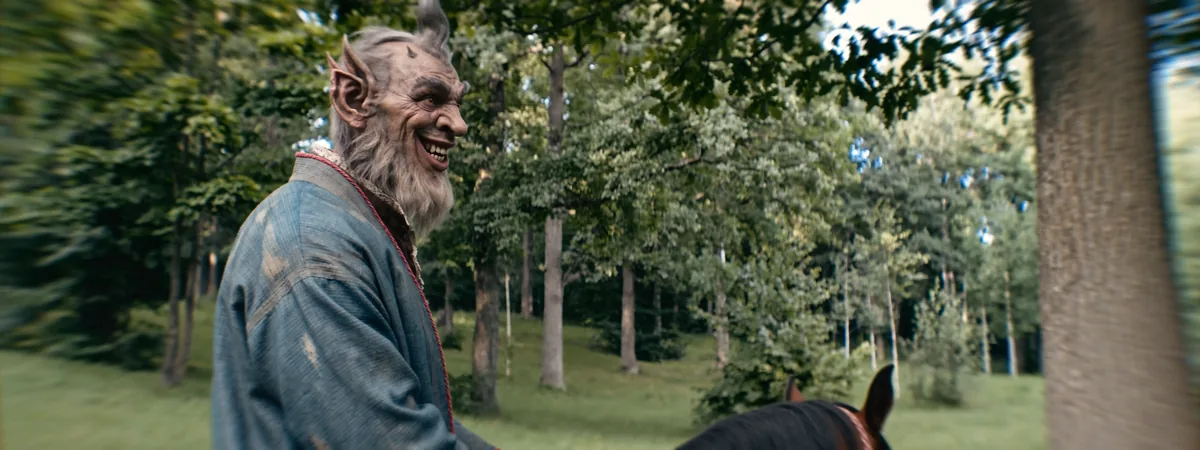 BeforeAfter
The twist: the plugin stopped being only mine
I built a tool for one film. Then users from different countries started writing to me. They asked for their own language, clearer presets, a quick way to the lessons. Version 3.0 is largely built from those letters.
The interface used to be English only. Now it speaks nine languages, and the language is chosen apart from Resolve: Resolve can be in German and the plugin in French. A Reset button brings every setting back to its default. I removed the old presets and replaced them with creative ones, so you can walk through them and see what the plugin can do at once. Your own presets are saved with Save as New Preset and removed with Delete My Preset.
Effect handles now appear in the viewer. If you cannot see them, set Viewer Handles to All Enabled. The Tutorials button leads to the lessons for this plugin. In the licence section you can check for updates, deactivate the computer and write to support. The plugin works on the Edit, Color, Fusion and Photo pages, under masks too.

How to install a plugin in DaVinci Resolve
- Download Lens Imitation for Windows or macOS.
- Run the installer and restart DaVinci Resolve.
- Open Effects → OpenFX → Әl-Bai Tasvir.
- Drag Lens Imitation onto an adjustment clip on the Edit page or onto a node on the Color page.
- Pick a preset and fine-tune it for the shot. The Tutorials button opens the lessons for the plugin.
How fast is it
This is the question I get most. The plugin renders on the graphics card: CUDA on Windows with NVIDIA, Metal on Mac. I built the acceleration in on purpose.
My system: RTX 3060 with 12 GB, Windows 10, DaVinci Resolve 21.2. On the timeline the plugin plays at about 25 frames per second. On heavy projects proxies or optimised media help. Still, the best test is always your own machine: download the plugin and go through the effects on your own footage.

Try it first, then decide
Before buying it matters to see how the plugin behaves on your system: speed, stability, the quirks of your hardware. That is why you can download it straight away. Every effect and every control is open, with a watermark on the picture. If you like it, you buy it.
I keep the price fair and without a subscription. You pay once, the licence is perpetual, technical updates are free. A key works on two computers at the same time: Windows 10, Windows 11, Mac on Intel and Apple Silicon. New computer or a fresh system: enter the key there and it takes the place of the one that has been offline the longest. You can also deactivate by hand, from the plugin or from your account. The internet is needed to activate, after that the plugin works offline for up to 30 days.
Payment goes through lava.top, a dedicated payment service. I never see your card details and never store them. It takes Visa, Mastercard, JCB, Discover, Diners Club, PayPal and Apple Pay, in euros also iDEAL, MB WAY and SEPA, there is Pix, and in rubles a Mir card or SBP. The key comes to your e-mail right after payment. If it is not in your inbox, check Spam and Promotions.
The key is yours alone. A key activates for whoever enters it. Keep it from friends and never post it.

Personal account and support
I made the personal account because people already working with the plugin asked for it. The link comes with your key, and the account takes a minute to create: e-mail and password, with an optional sign-in code from an authenticator app. It keeps your keys and connected computers, our conversation, your promo codes, a lessons section and news about updates.
You can reach me four ways: the chat in your account, e-mail, Telegram and the form on the site. Write to Support in the plugin opens the form and attaches the plugin log with the version, system and graphics card. Screenshots go easily into the account chat, up to 20 MB per message. A large video is best sent via Telegram, up to 2 GB, or as a Google Drive link. I read every message myself.

Stay alert. This is the age of neural networks and fakes. I write only from the official addresses listed on the contact page. I never ask for your key, password or codes, and never tell you that your key has "dropped off".
What's next
People often ask about Premiere Pro and Final Cut. I plan to get there too, but each host has its own technical quirks, so for now all the focus is on DaVinci Resolve.
Meanwhile the next plugin is on its way: Tasvir Altyn, crystal looks, camera moves and transitions. The rest of the tools are on the page of plugins for DaVinci Resolve.
Questions and answers
Does the plugin work in the free DaVinci Resolve?
Yes. Lens Imitation works in DaVinci Resolve and DaVinci Resolve Studio version 20 and newer, on the Edit, Color, Fusion and Photo pages, under masks too.
Can I try it before buying?
Yes. Download the plugin: every effect and setting is open, with a watermark on the picture. A key removes the watermark in the same plugin.
Is there a subscription?
No. You pay once, the licence is perpetual, technical updates are free.
How many computers does a key cover?
Two at the same time: Windows 10, Windows 11 or Mac on Intel and Apple Silicon. The key moves to a new computer.
How do I install a plugin in DaVinci Resolve?
Run the installer for Windows or macOS and restart Resolve. Open Effects, OpenFX, Әl-Bai Tasvir and drag Lens Imitation onto an adjustment clip or a node.
How do I pay from another country?
Payment goes through lava.top: Visa, Mastercard, JCB, PayPal, Apple Pay, iDEAL, SEPA, Pix, and in rubles Mir and SBP. The key comes to your e-mail right after payment.
Try Lens Imitation on your own footage
Every effect is open. Windows and macOS.